Appearance
Hotspots
Hotspots lets you upload an image and tag it (with a hotspot). Excellent for explaining machine parts, construction elements, landscapes or scenes with very detailed elements.
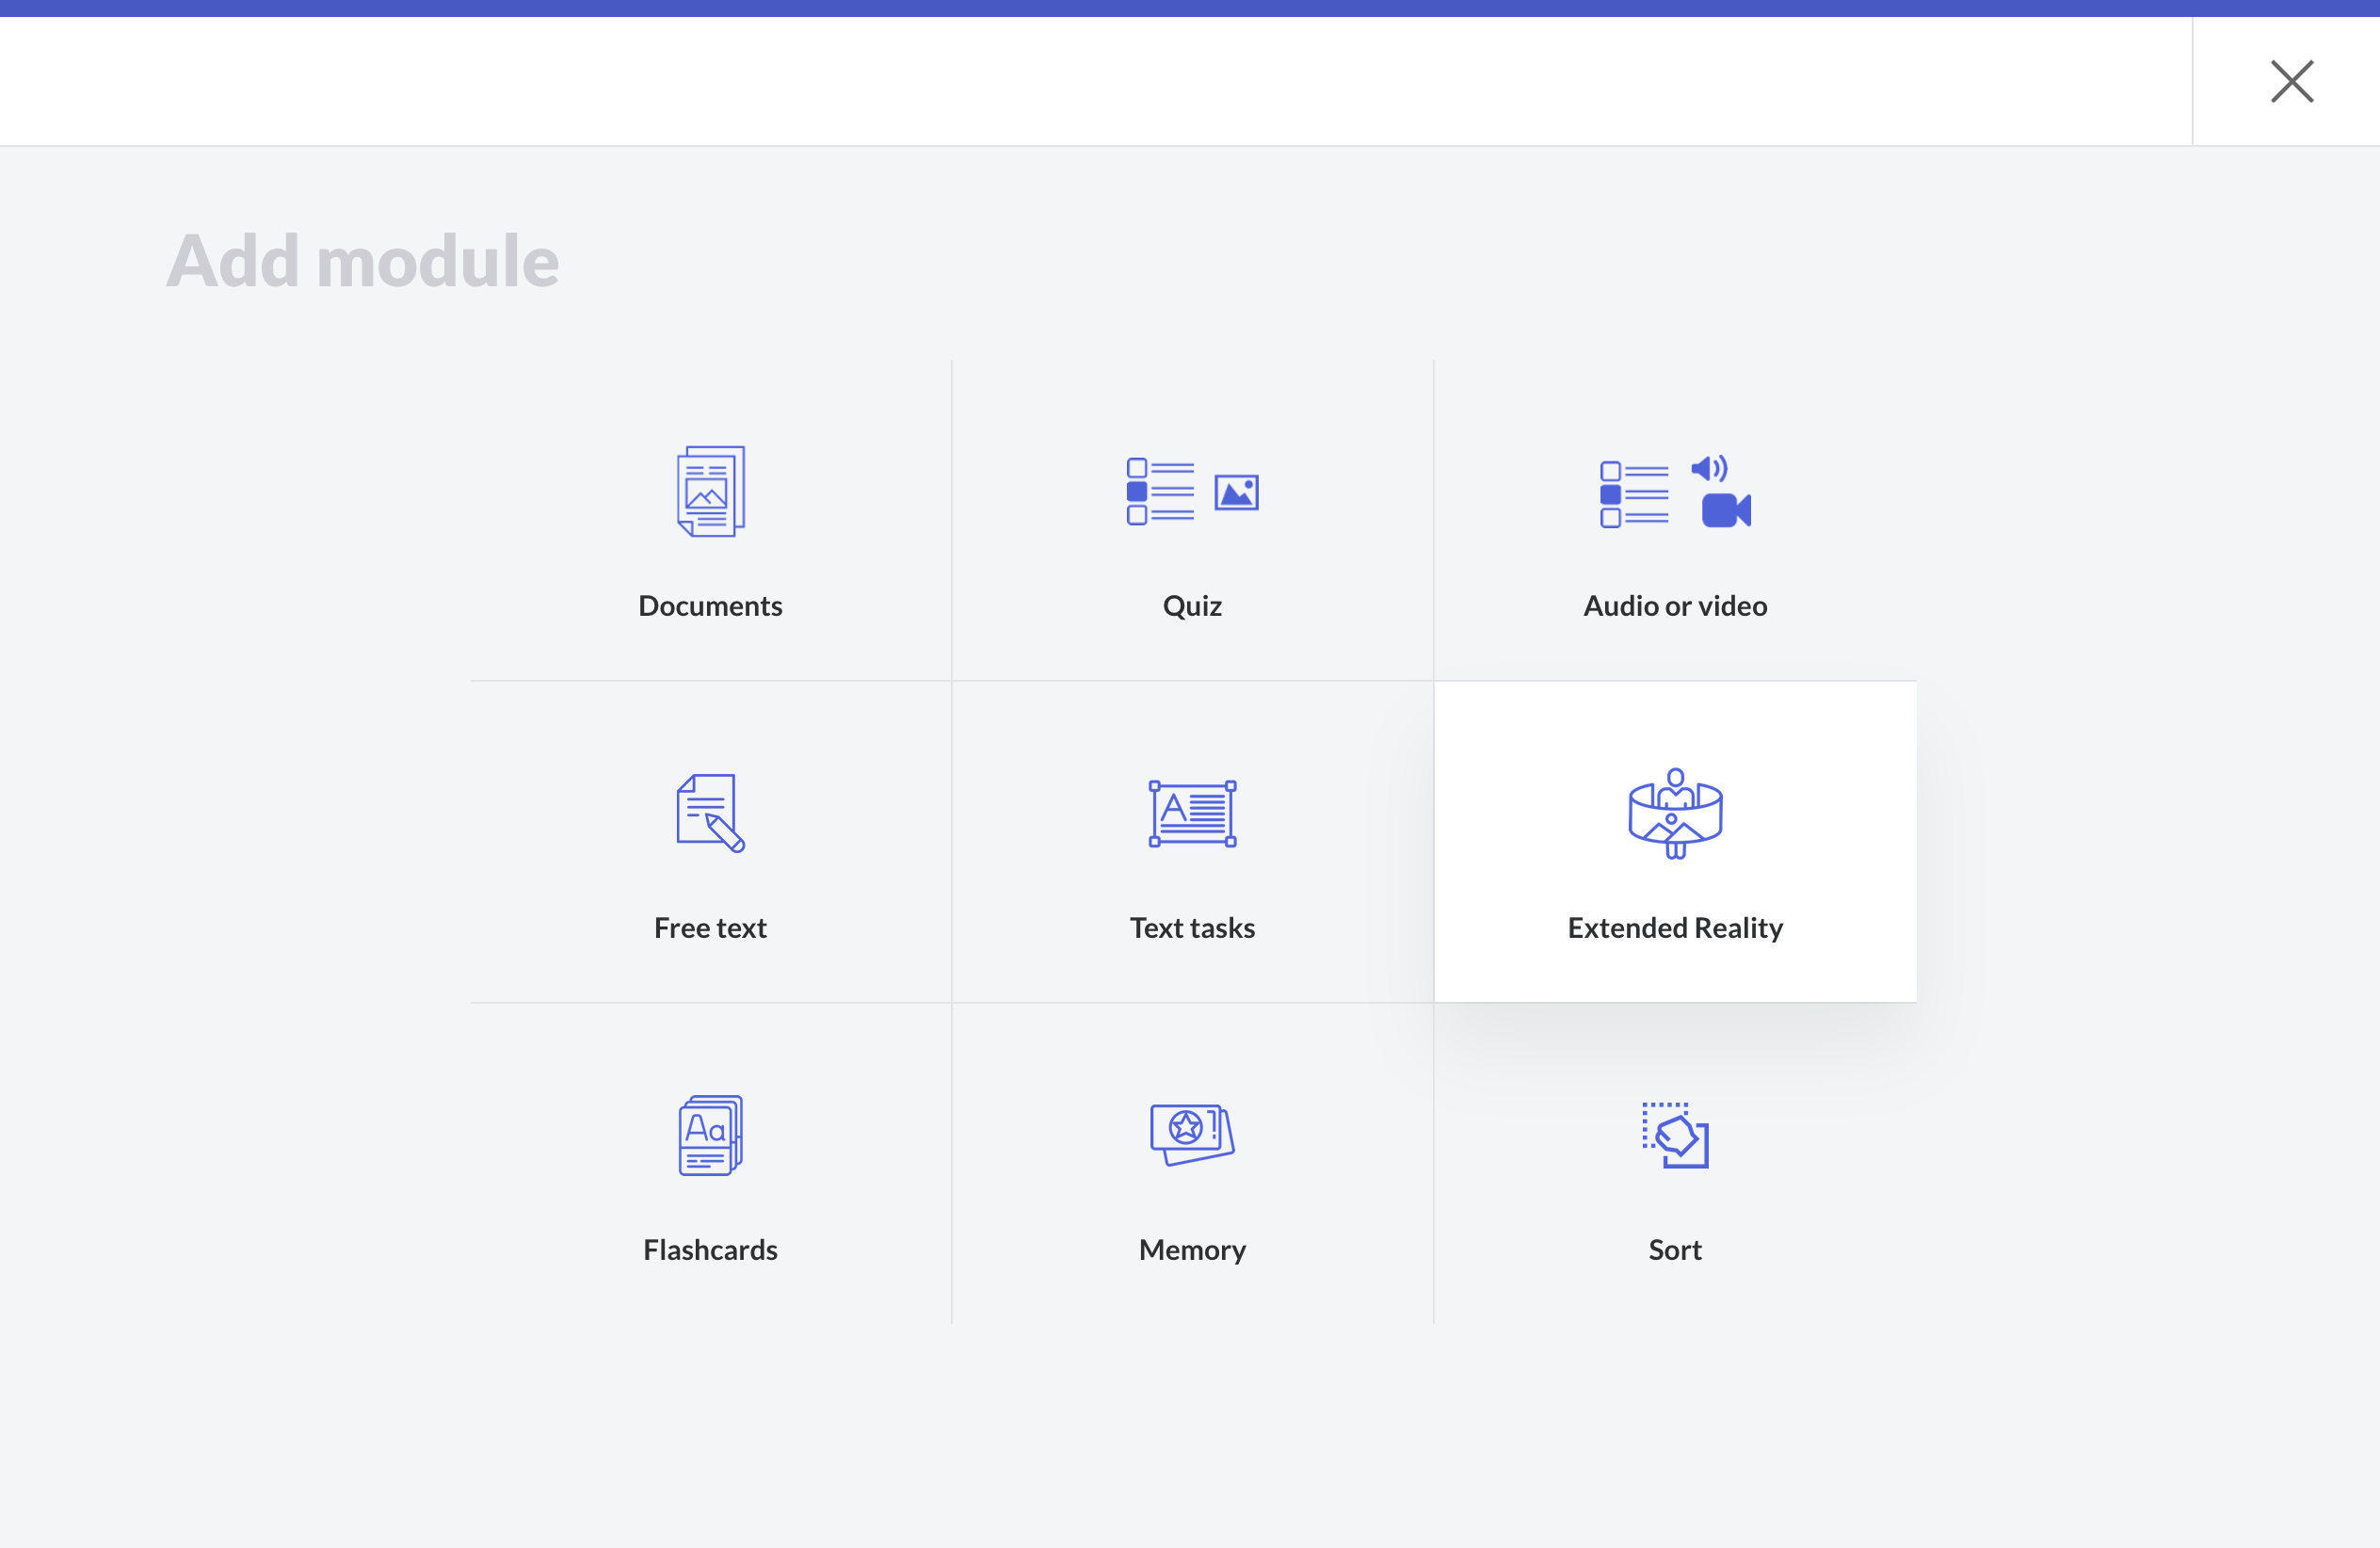
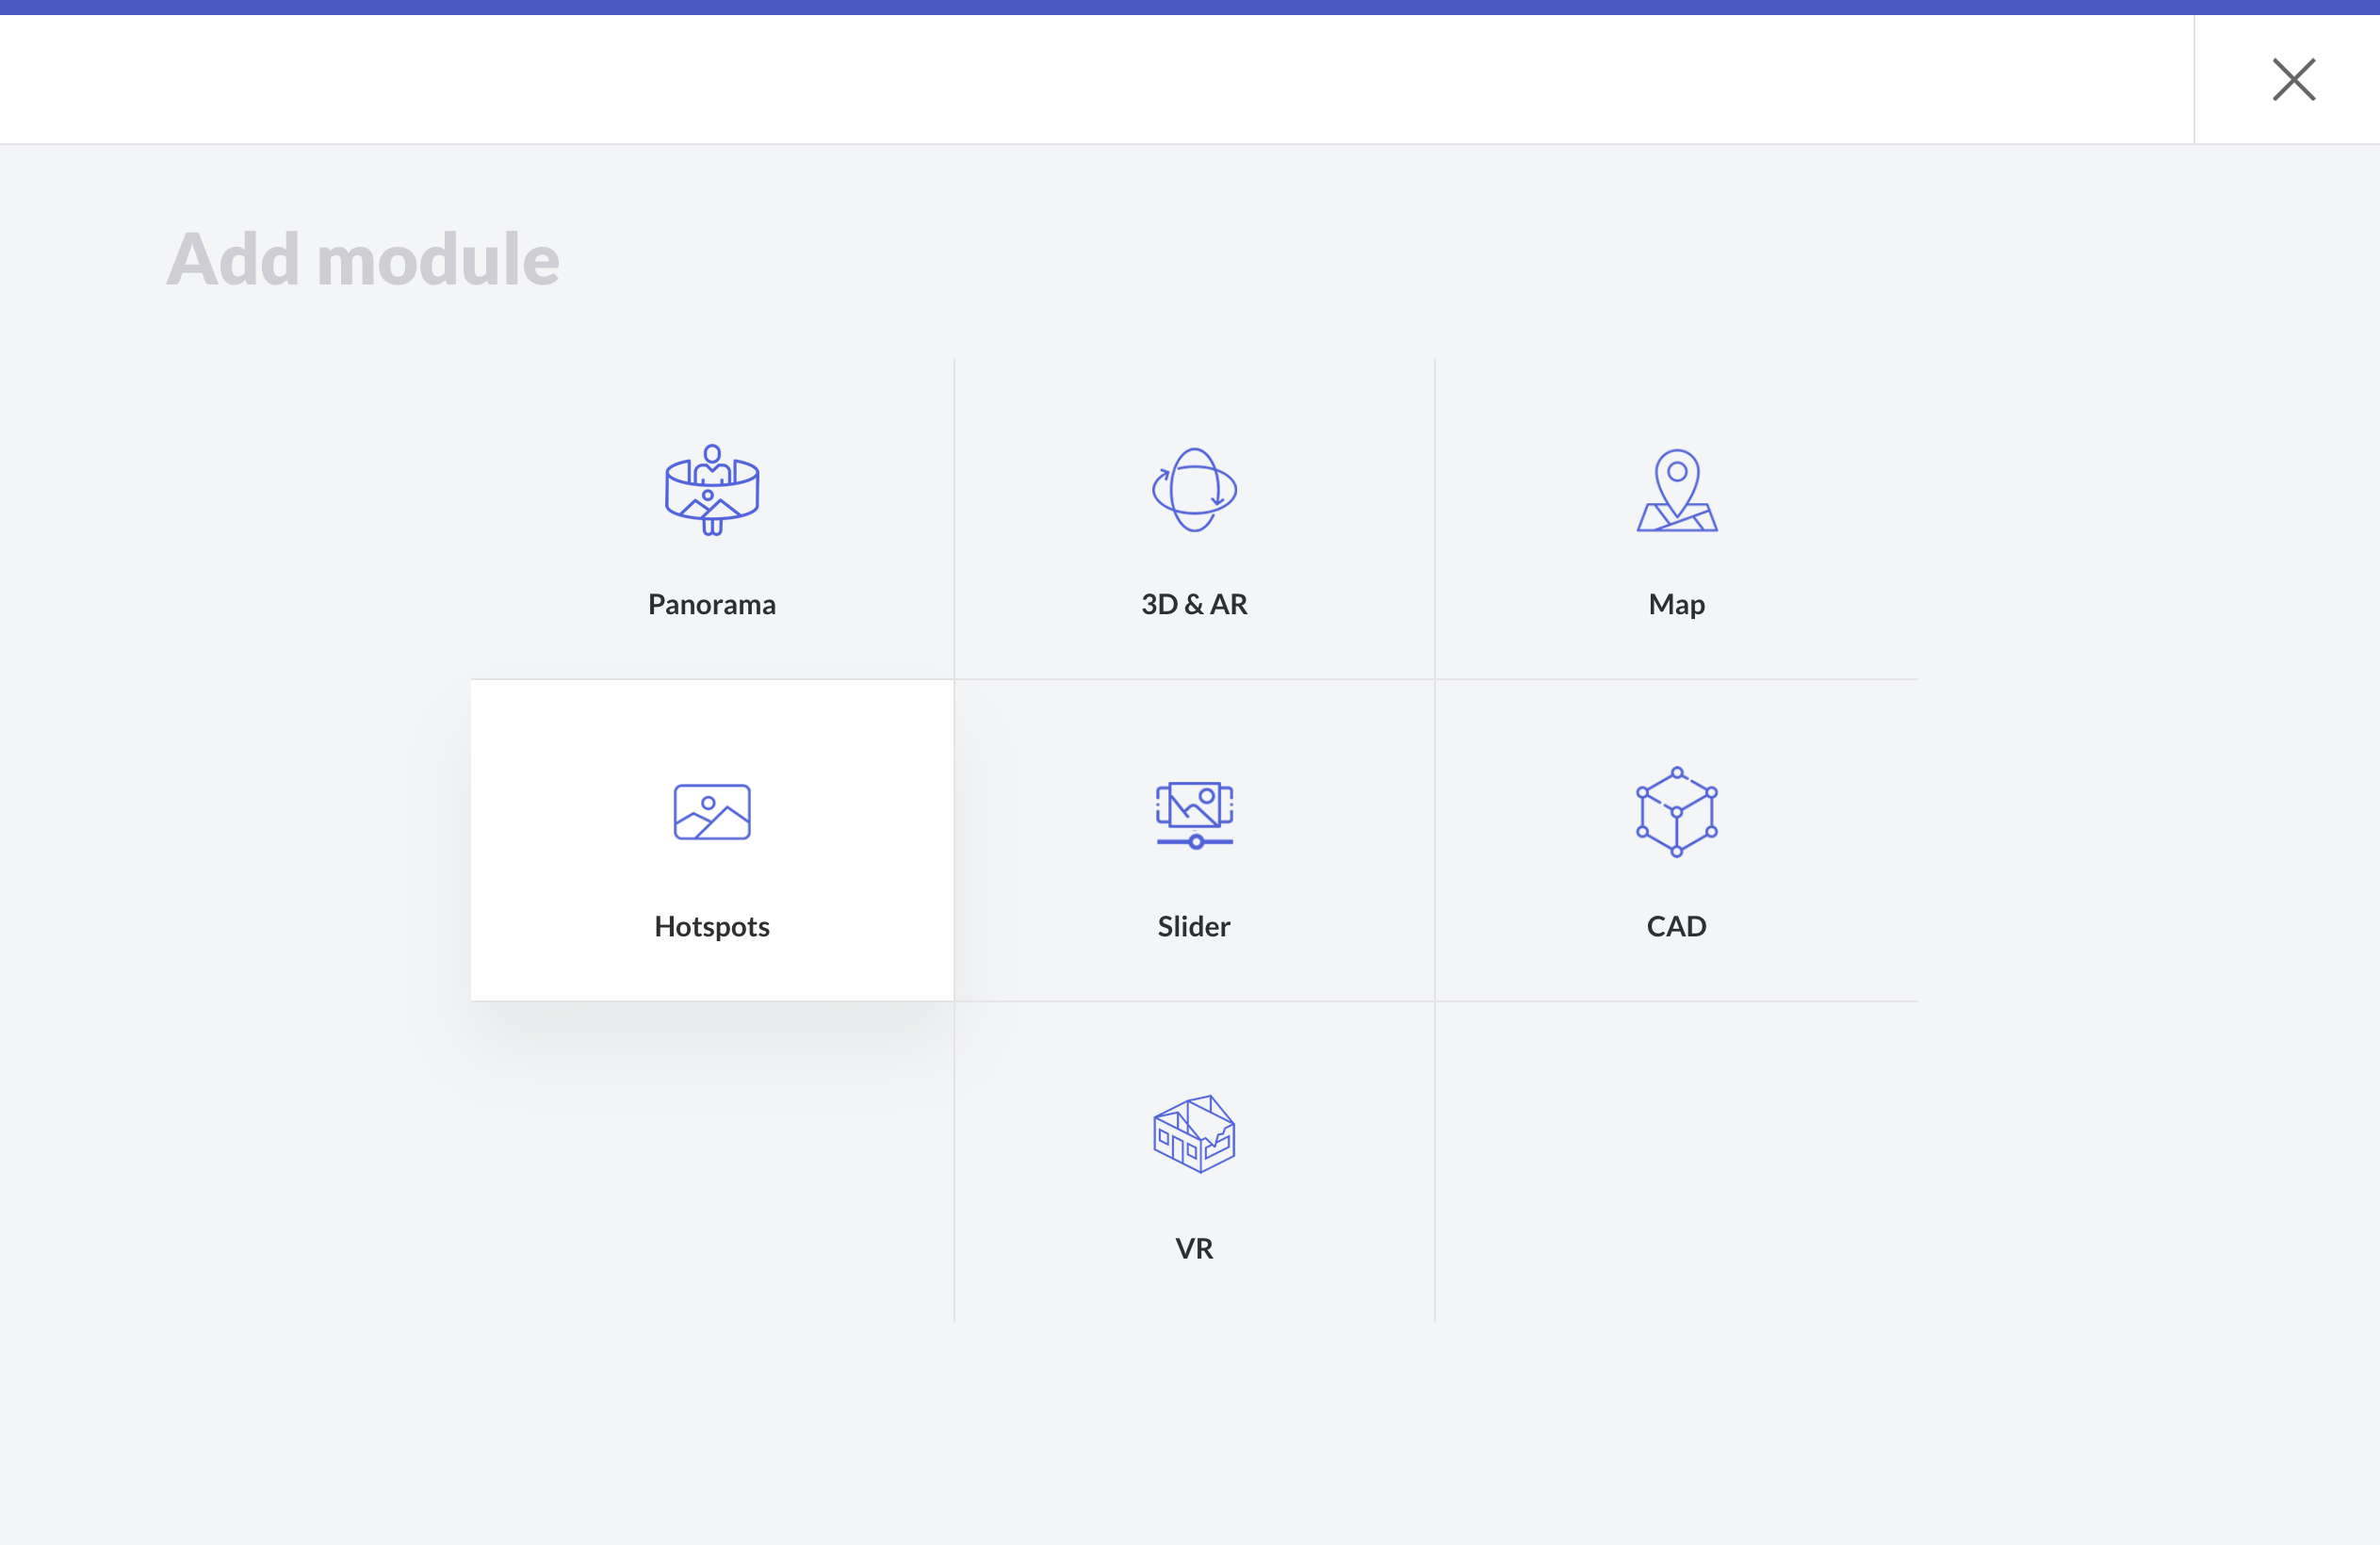
Go to your course ➝ your Section ➝ add a new building block ➝ (All modules) ➝ Extended Reality ➝ Hotspots
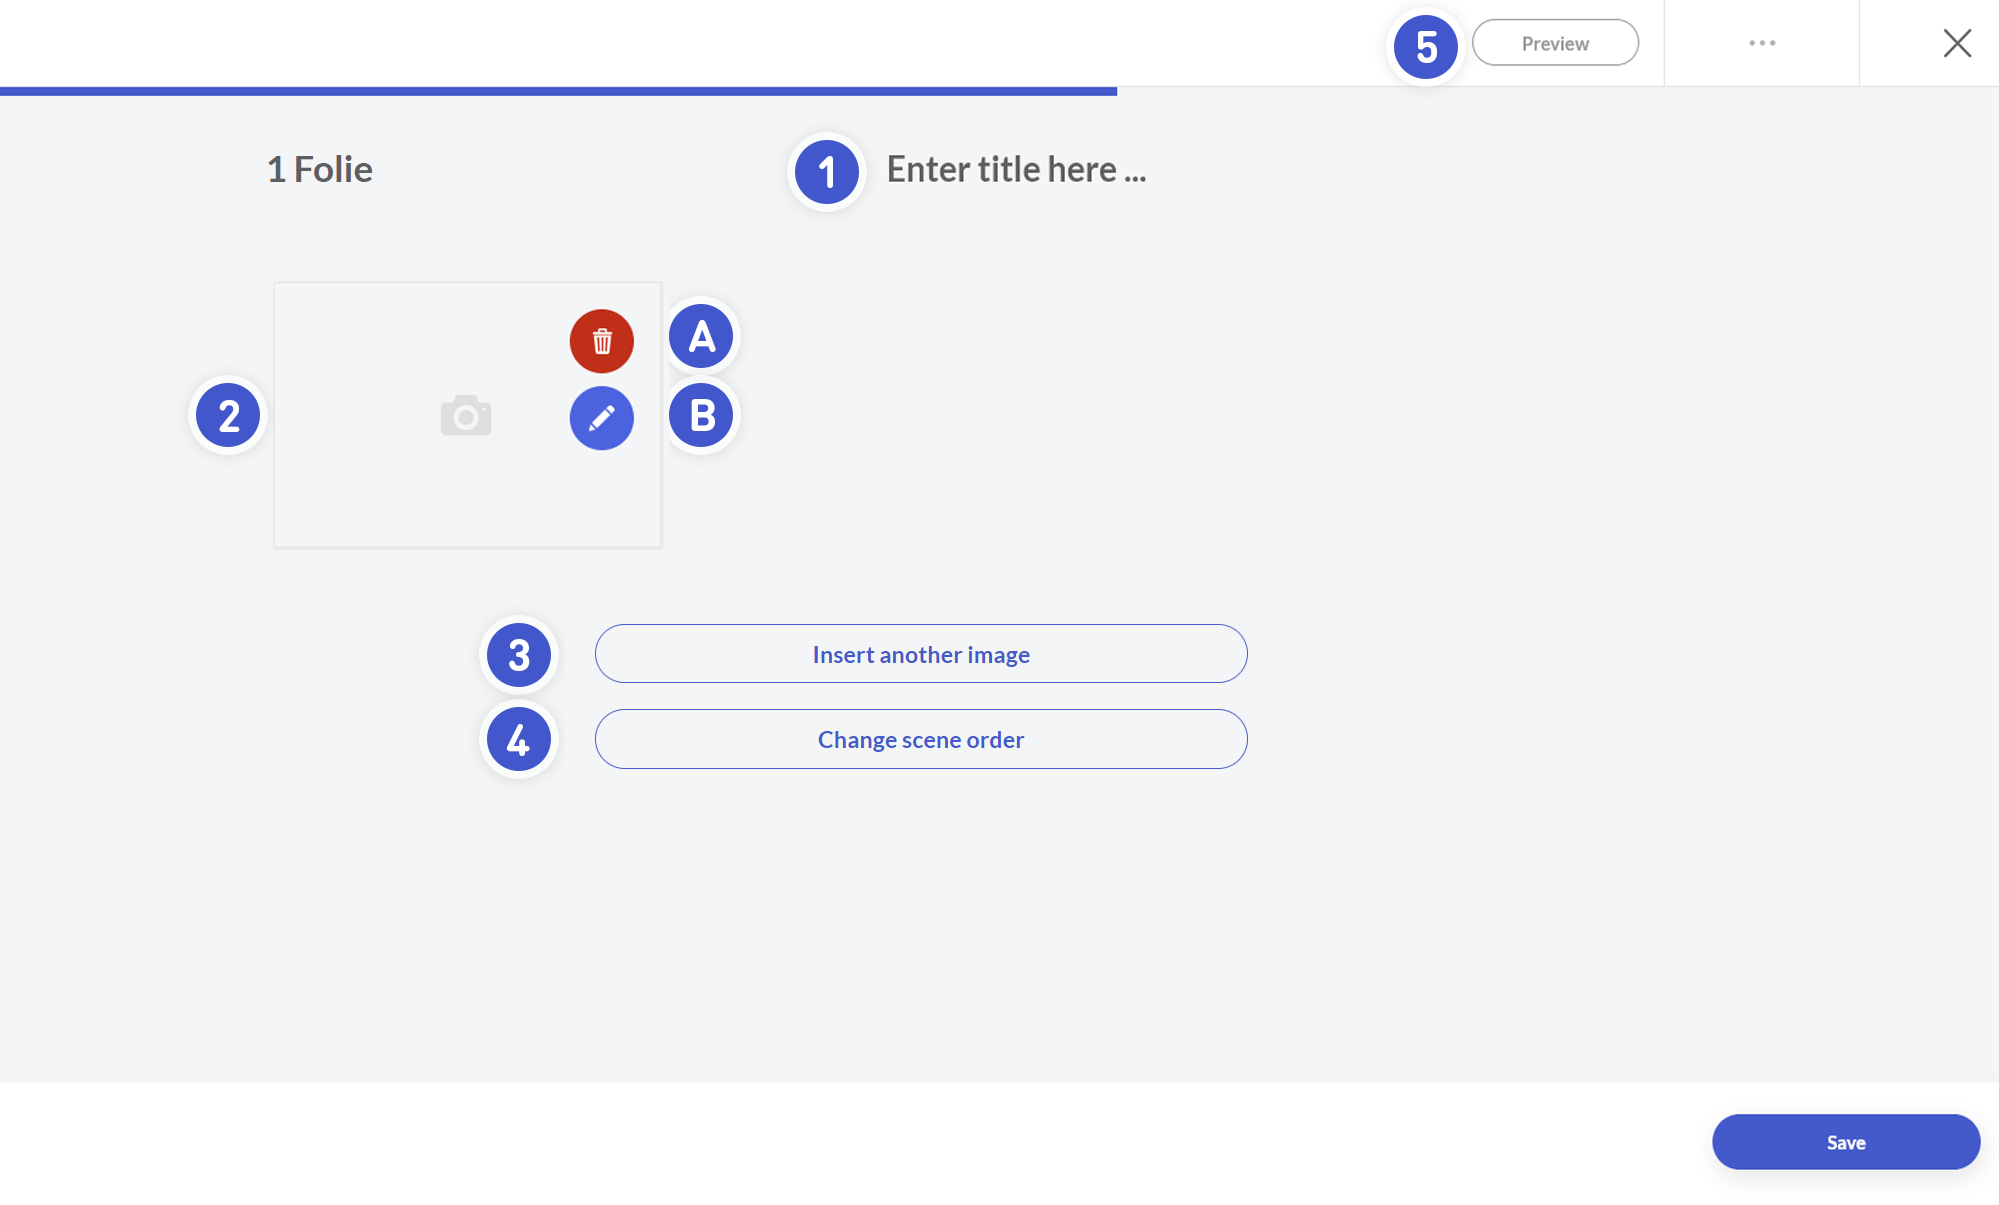
- Enter the name for your building block in here.
- Hover over the area to reveal:
- A. Delete a image / scene.
- B. Attach a new image to a scene (by clicking on the pencil icon).
- Click here to add a new scene.
- Click to change image/scene order.
- Open the preview to view the hotspot element from the particpant's view.

In the scene editor:
- Click anywhere on the image to add a new hotspot.
- Add a name and description of the hotspot to explain what is seen here.
- You can add multiple hotspots on a single image.
- When all hotspots are added, click Back, add another scene or click on Done to save your progess.